When to install and activate your travel eSIM
Purchase and installation are not always the same as activation. Set up your eSIM before departure, understand what starts the plan, and switch data lines safely after landing.
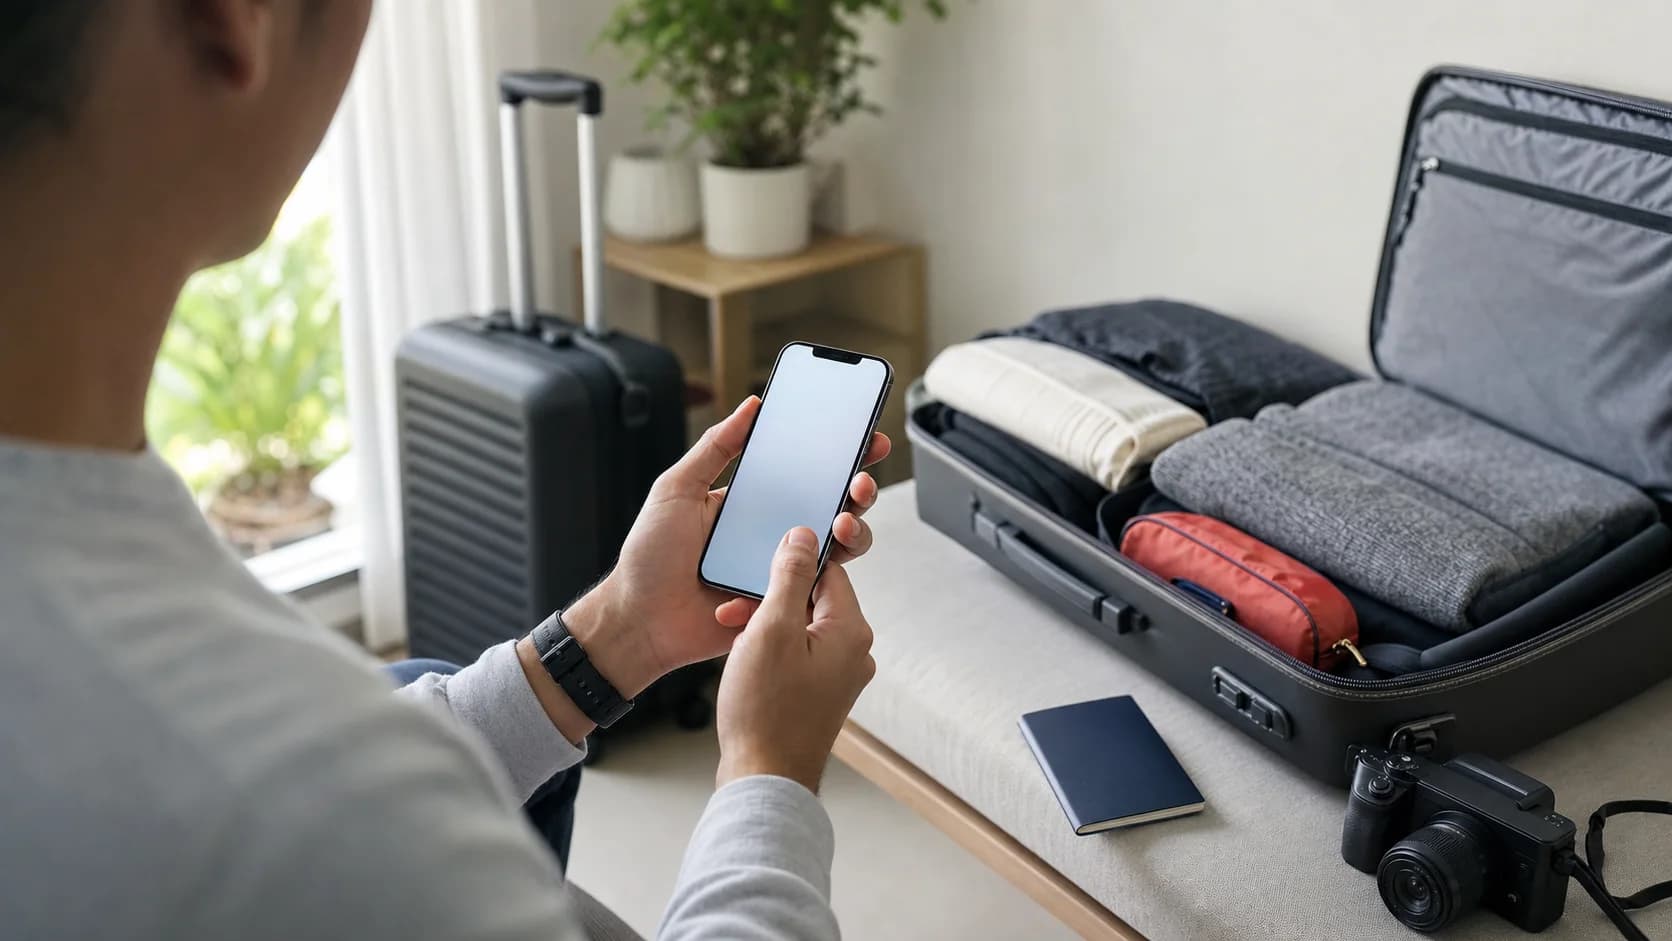
Buy early enough to solve a problem before departure, install while you still have reliable internet, and turn the travel line into your data line when you arrive. That sequence works for many plans, but one detail always comes first: check what event starts your plan's validity.
Before you buy
Check compatibility and the activation policy
Confirm that your exact phone model supports eSIM and is unlocked. Then read the plan's activation policy. Some plans begin only when they connect to a supported network at the destination. Others may begin on installation or require a manual activation step.
This is also the time to confirm the validity period, covered countries, and whether the eSIM can be reinstalled. Many activation codes are designed for a single installation, so deleting a profile casually can create an avoidable support problem.
Before departure
Install with reliable Wi-Fi and time to verify the profile
Apple and Samsung both note that eSIM setup requires an internet connection. Installing at home or at the hotel before a travel day gives you stable Wi-Fi, another screen for the QR code if needed, and time to contact support.
- 01
A few days before
Purchase and read the instructions
Confirm the destination, validity, activation event, and supported device.
- 02
Before departure
Install and label the line
Use a clear label such as "Travel" or the destination so you can select it confidently later.
- 03
After landing
Select the travel eSIM for data
Turn on the line, choose it for cellular data, and follow the provider instructions for data roaming.
After landing
Switch data deliberately
- Turn on the travel eSIM line.
- Choose the travel eSIM as the cellular or mobile data line.
- Enable data roaming for the travel eSIM when the provider instructions require it.
- Disable data roaming on your home line unless your home plan explicitly includes the destination.
- Consider turning off automatic cellular data switching to prevent the phone from using the home line for data.
- Leave network selection on automatic unless the provider gives a specific manual network.
Keeping your home line enabled can preserve access to its number, but calls, voicemail, and messages may still create carrier charges. Check your home carrier's roaming policy instead of assuming that receiving service is free.
Verification
Test the connection before leaving the airport
Turn off Wi-Fi briefly, load a simple web page, and confirm the cellular data indicator appears. Then open the eSIM details and check that the expected line is being used for data.
If it does not connect, give network registration a few minutes, toggle airplane mode once, restart the phone, and verify the selected data line and roaming setting. Do not delete the eSIM as an early troubleshooting step unless support specifically instructs you to do so.
Returning home
Restore your home settings before removing anything
Select your home line for mobile data, restore its normal roaming preference, and turn off the travel line. You can remove an expired travel eSIM later, once you are certain the trip is over and you do not need its order details for support or a refund request.
Keep the setup details within reach
Every RoamGo order keeps its installation information, plan status, and usage together, so you can prepare before departure and check the same order after landing.
Sources
Device features, carrier support, and travel rules can change. These sources were checked on August 25, 2026.
- 1.Set up eSIM on iPhone (Apple Support)
- 2.How to use an eSIM with your Galaxy phone (Samsung Support)
- 3.How to use dual SIMs on your Google Pixel phone (Google Pixel Help)
Editorial disclosure: RoamGo sells travel eSIMs. This guide is intended to help travelers compare connectivity options, including situations where a home carrier or local provider may be the better fit.